How to Import PST to Zoho Mail on Mac?
Currently managing your day-to-day emails using Zoho Mail email server on Mac! Received important .pst files from a client that you need to view in Zoho Mail environment but don’t know how? Wondering how to import PST to Zoho Mail on Mac with emails and attachments correctly? Not to worry anymore, just go through the blog and you will encounter a matchless solution that will help users importing PST to Zoho Mail directly with precise results.
Zoho Mail is a secure, business-oriented, and cloud-based email service that delivers wide range of features to fulfil various emailing requirements. The Zoho Mail possesses comprehensible email structure with rich formatting options. Users can make changes in their email content, add custom signatures, and allow Outbox delay for better control over email sending.
PST, on the other hand is compatible to Windows Outlook. It is a format that store emails, contacts, calendar events, tasks, journal entries, etc. The files can be transferred easily to local computer or imported into a different email service.
Zoho Mail is a cloud-based emailing server that permit users to import PST to Zoho Mail account on Mac. In case you are searching for a free and secure way to import PST files, then the write-up is for you. Here, the easiest and hassle-free solution is discussed which will help uploading PST files to Zoho Mail in few seconds.
How to Import PST to Zoho Mail on Mac?
There are two ways to import PST files to Zoho Mail account –
- Manual Approach
- Automated Solution
Method 1. Manually Importing PST to Zoho Mail on Mac
Zoho Mail is built with a free tool i.e. Zoho Exchange Migration. It is available on Zoho website. The Zoho Exchange Migration Tool has PST, EML, and Exchange Migration features to upload PST into Zoho Mail email server. With the help of the same, one can split break large PST into small .pst files.
Download and Install Zoho Exchange Migration Tool
Step 1. Go to Zoho Exchange Migration Tool, select the system bit (32 or 64) and click Download Migration Tool.
Step 2. Specify the location where you need to save the tool.
Step 3. Visit the specified location to save the tool and follow installation procedure.
Launch the Tool and Complete the Process
Step 1. Once the installation process completes, launch Zoho Exchange Migration Tool on the system.
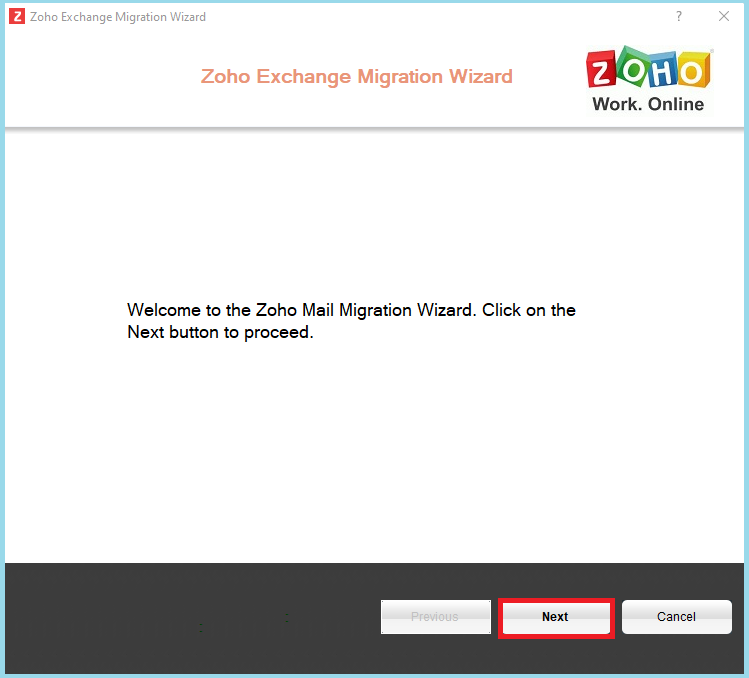
Step 2. Zoho Exchange Migration Wizard will open, displaying welcome message. Click Next to continue.
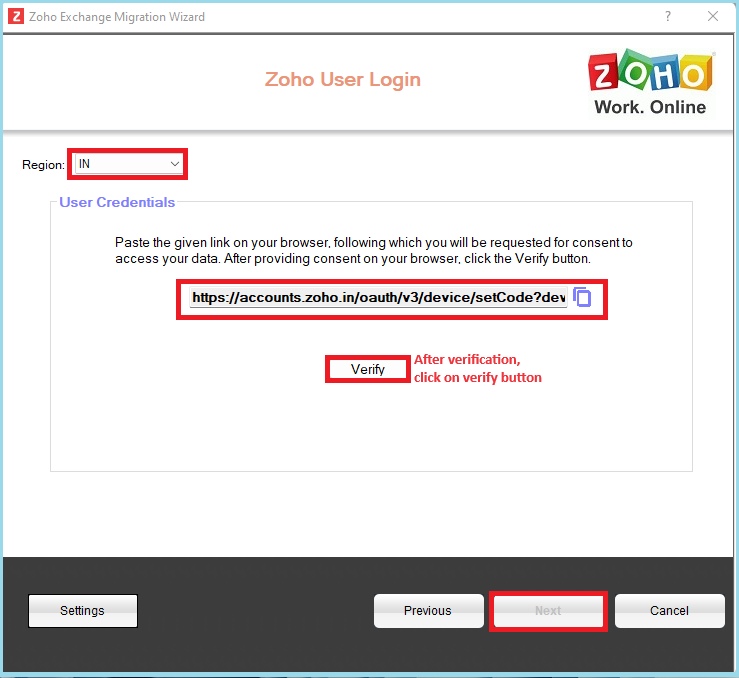
Step 3. Choose required region. Copy the link appearing in User Credentials and paste the same on your browser.
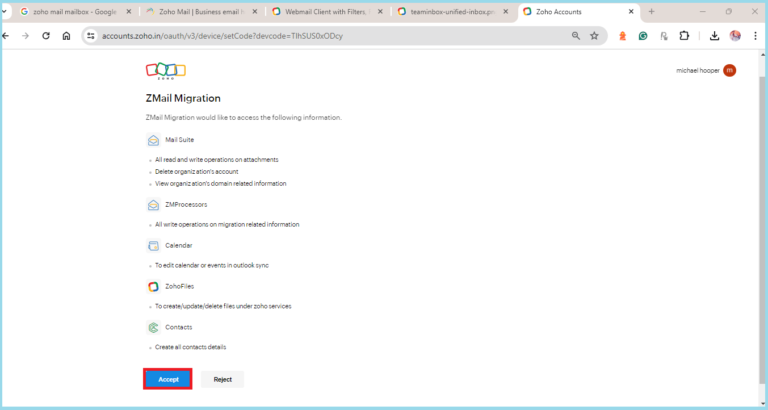
Step 4. If a Zoho Mail account is logged in, then you will see a message that ask to provide access to different options. Click Accept.
Step 5. Visit the tool again and click Verify button. Once Verification completes, click Next.
Step 6. Choose the option “PST Migration” and click Next.

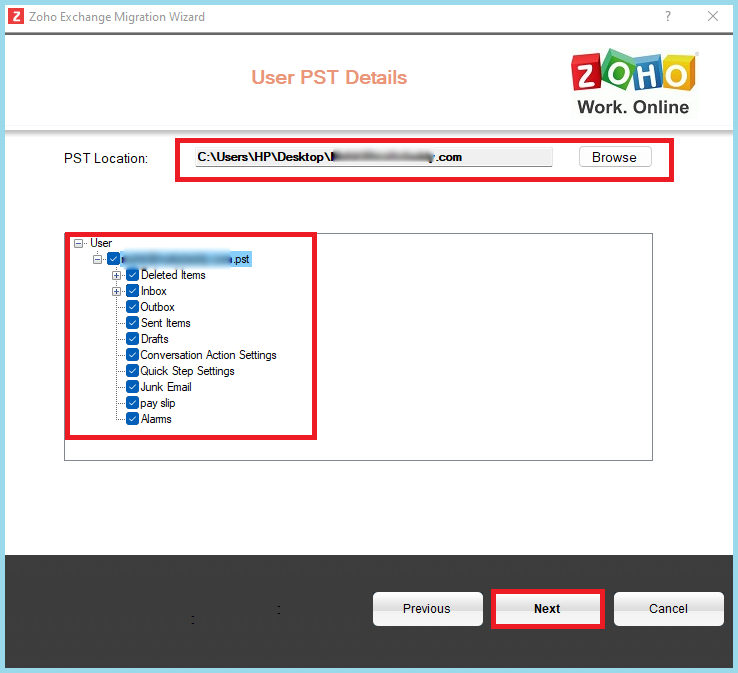
Step 7. Tap Browse button and specify a location where PST file is stored.
Step 8. Choose the mailboxes required to migrate and tap Next.
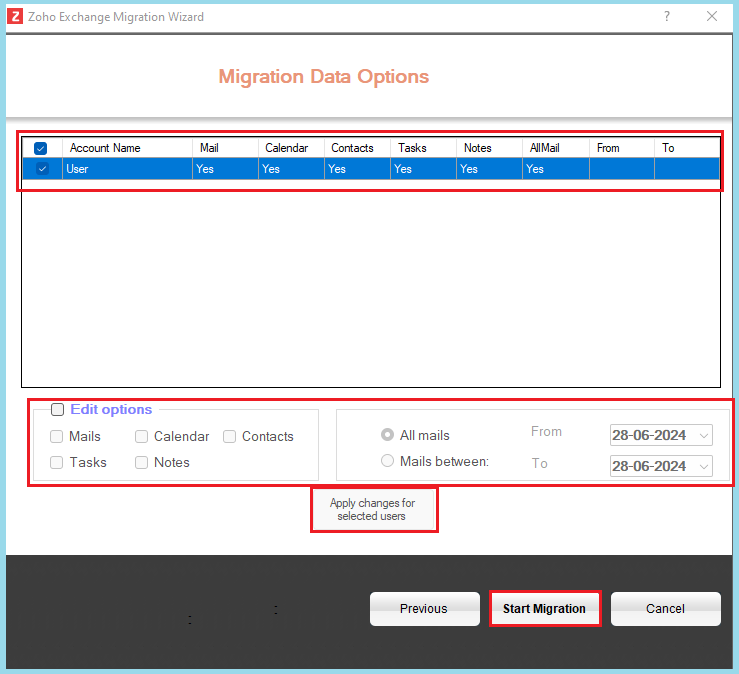
Step 9. Utilize different filter options according to the requirements or directly tap Start Migration option.
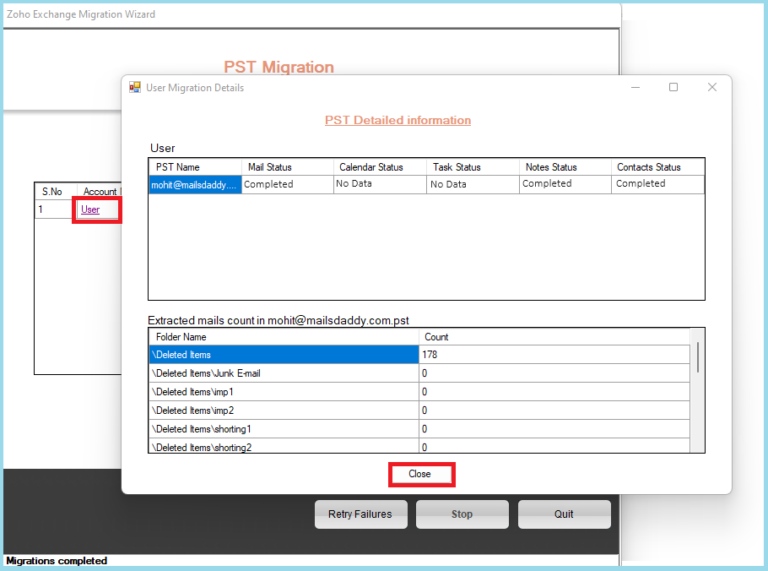
Step 10. Click Account Name to view the result of migration process.
Step 11. After migration process, a message will appear, click OK button.
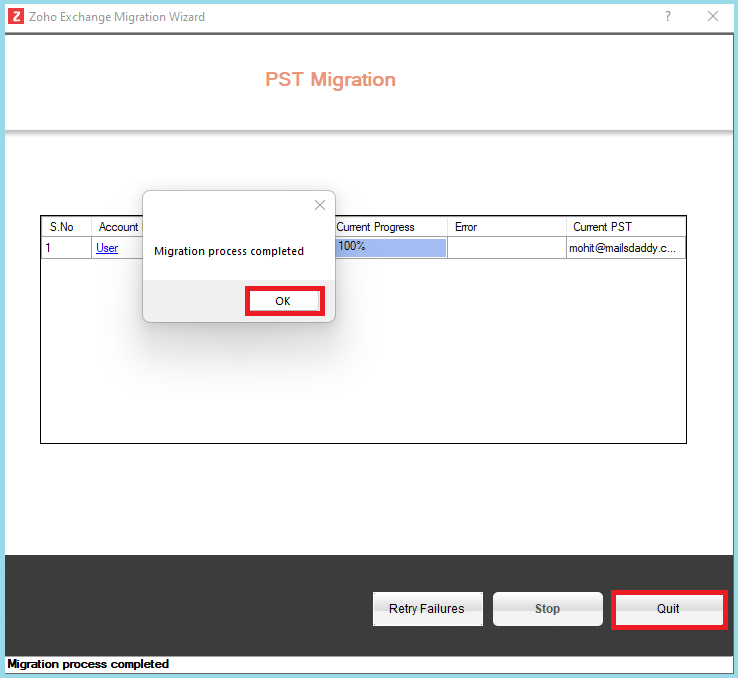
Now, the PST file database will be shown in Zoho Mail account.
Method 2. Directly Importing PST to Zoho Mail on Mac
The direct way to import PST to Zoho Mail on Mac is by utilizing Macflick Mac PST Converter Tool. The application includes Add File(s)/Add Folder buttons with the help of users can add their important .pst files/.pst files folder on the tool for conversion. It has an intuitive GUI which is easily manageable by all professional and novice users with ease.
Furthermore, there are many features available that users can use to obtain desired results. One can also download the freeware version to understand the software process in detail.
Step-by-Step Software Working to Import PST to Zoho Mail on Mac
Step 1. Download and operate the specified software on Mac.
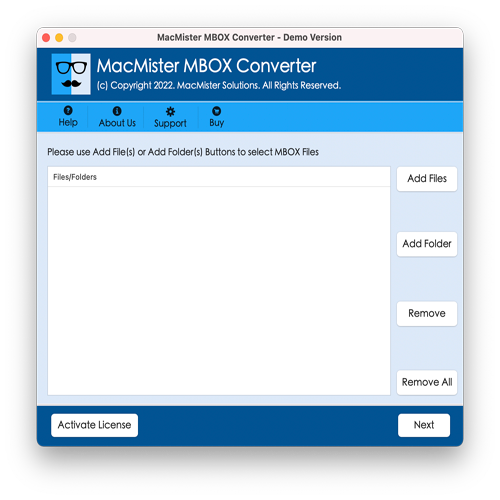
Step 2. Use dual buttons i.e. Add File(s)/Add Folder to add PST files on the software. The Add File(s) button will help adding the required .pst files on the tool. The Add Folder button allow users loading a folder carrying unlimited .pst files on the tool to batch import PST files at once.

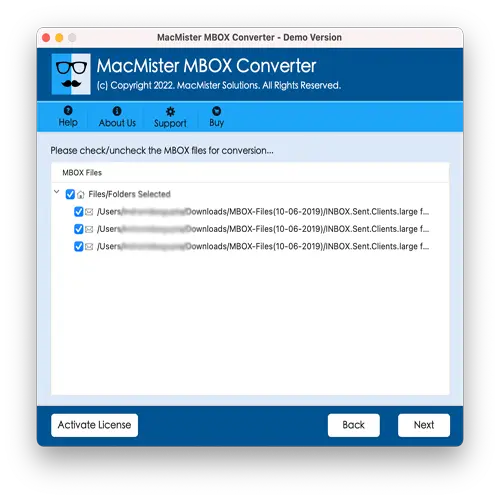
Step 3. The software will load .pst files on the panel one-by-one. Each will have a checkbox. Users can select it as per their needs to import selected files, if needed. Otherwise, let the checkboxes of all the files selected and click Next to proceed.
Step 4. Click Select Saving Options and choose IMAP saving type from the menu.
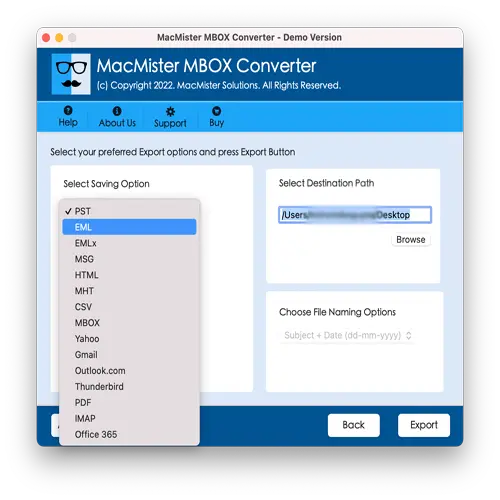
Step 5. Add Zoho Mail details in required fields. Specify IMAP host and port number of the same. Press Next.
Step 6. The Live Conversion Report screen will open which shows the ongoing import progress of PST files to users.
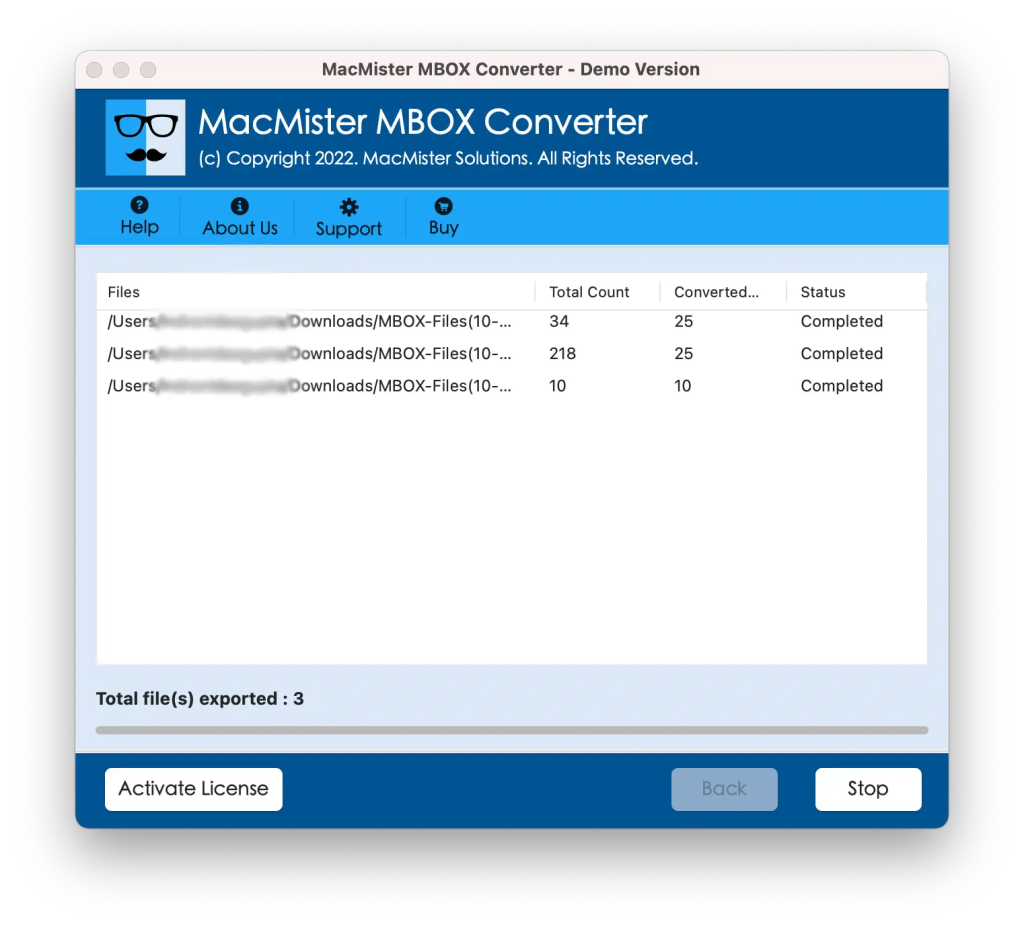
The process will be finished in minimum time with a message “Conversion Completed”. Click OK and then login to Zoho Mail account to verify resultant files. After viewing the desired imported email, you will see that the tool has correctly performed the process. The content and formatting properties will appear same as before after the tool completes the import task.
Epilogue
The write-up here discussed different ways to resolve how to import PST to Zoho Mail on Mac. The first method is manual which is completely free of cost. Only professionals can utilize it as it possesses technical steps. The second method is direct, cost-effective, and secure. It directly import PST files to Zoho Mail within seconds. Also, protects the credentials of Zoho Mail account throughout process. It is available with a freeware version. Users can use it to evaluate the process in detail.
Additionally, one can import first 25 PST files to Zoho Mail account free of cost. Besides, users can use software other saving options to import PST file such as MBOX, OLM, EML, HTML, DOC, IMAP, Yahoo, Office 365, and more.